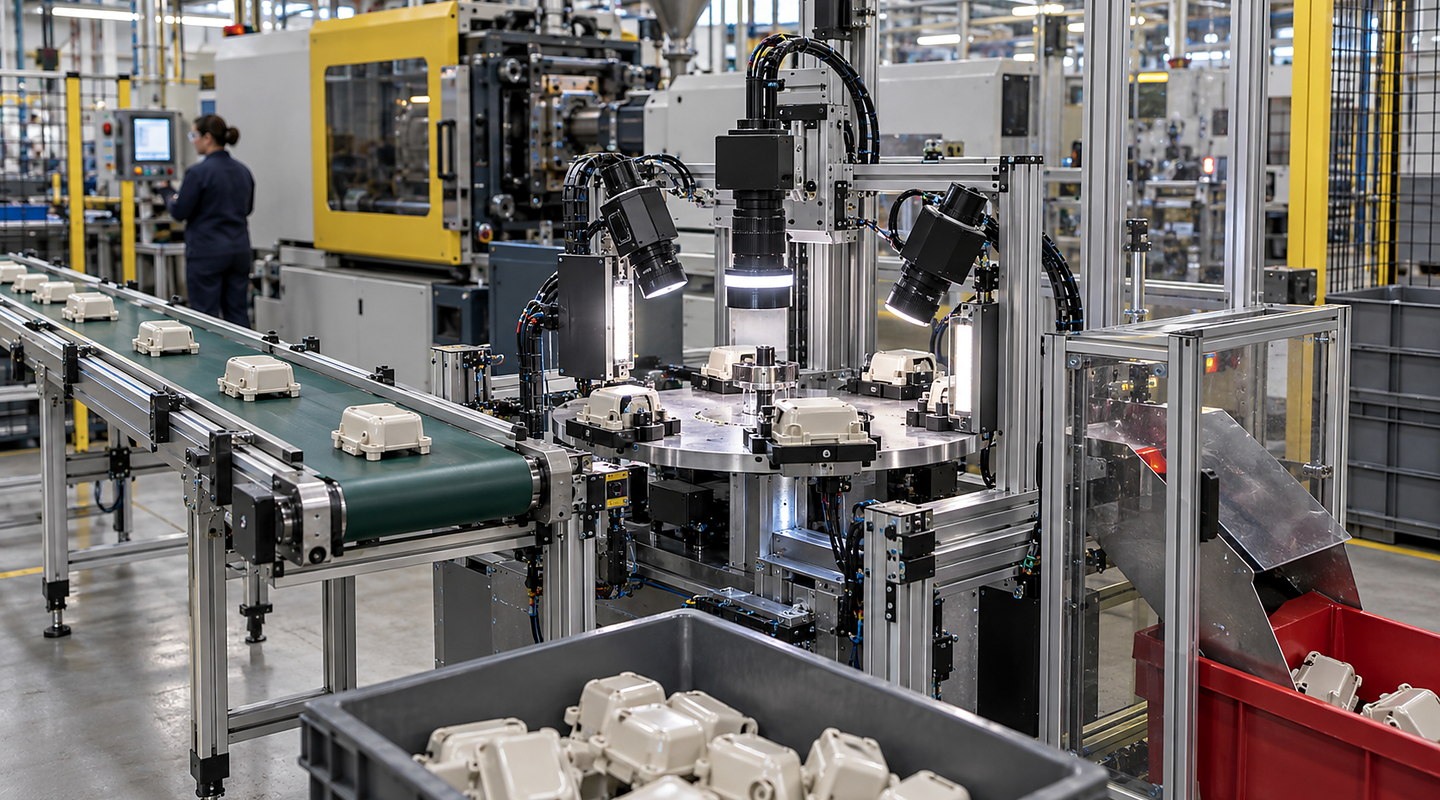
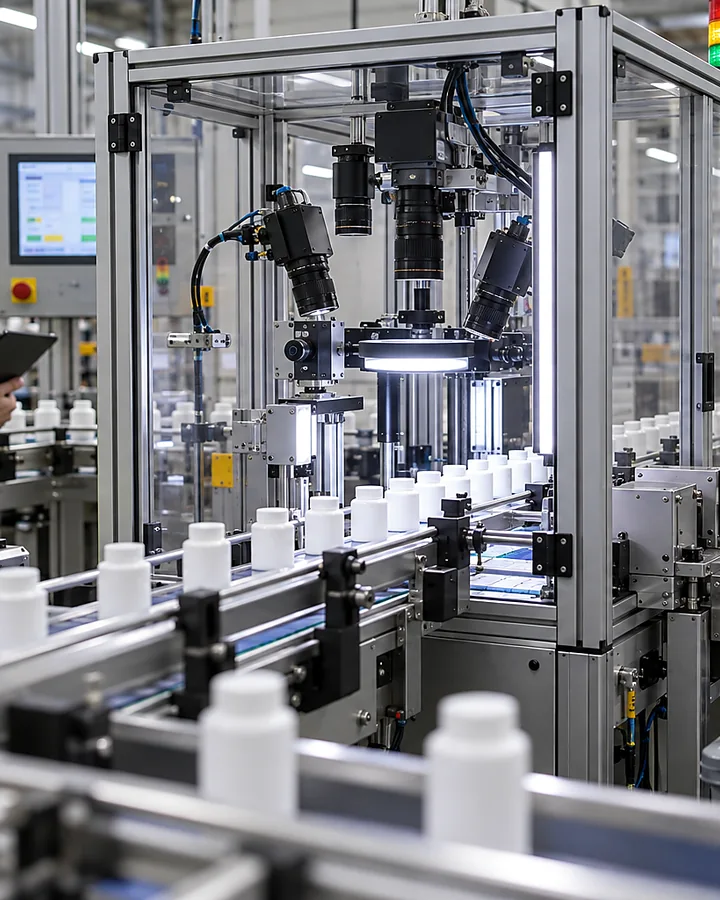
Plan reflective part inspection around representative good, bad and marginal samples, line presentation, lighting, reject handling and challenge criteria. Discuss an optical feasibility trial with Oxford Vision Systems.
Speak directly with Oxford Vision Systems about inspection of shiny and reflective parts.
Quick answer
How should lighting be arranged for inspecting reflective components?
Supply parts across the normal finish range and mark the smallest defects of concern. Trial candidate lighting and camera positions with realistic part movement and orientation. Compare acceptable reflections with actual defects, and record which surfaces and viewing conditions the demonstrated inspection covers.
Application decisions
Make the defect visible without mistaking reflections for damage
On a shiny part, a small change in angle can transform the image. A useful inspection trial separates the feature to be judged from glare, reflected surroundings and normal variation in the manufactured finish.
Decision 1
Define the surface decision first
Mark whether the requirement concerns a scratch, dent, contamination, missing feature or dimensional boundary. Specify the relevant region and the smallest unacceptable condition using approved examples. These decisions may need different lighting arrangements. A setup that makes a polished edge clear can make a shallow surface mark disappear, so do not group unlike checks under one undemonstrated claim.
Decision 2
Compare lighting geometries
Diffuse illumination, directional light, backlighting and polarisation can expose different features; none is a universal solution for shiny parts. Compare candidate arrangements using the actual material and shape. Keep examples of both normal reflections and real defects. The selection should follow repeatable separation between acceptable and unacceptable samples across the permitted part movement.
Decision 3
Include finish and supplier variation
Trial the approved range of polish, brushing, plating, colour and texture. A normal tooling mark or grain direction may resemble a defect under one view. Label samples by the quality team’s agreed classification before using them for decisions. Changing the finish supplier later may require another review even if the nominal part drawing stays the same.
Decision 4
Control pose and reflected surroundings
Record allowed rotation, tilt and position in the production fixture. Review neighbouring bright objects, ambient lighting and opportunities to shield the view. Test the extremes of the permitted presentation rather than holding each part at its best angle. If a feature is not visible throughout that range, improve presentation or add a view before tightening software thresholds.
Decision 5
Separate silhouette from surface condition
Backlighting may provide a clear external outline while revealing little about the facing surface. A frontal view may expose appearance defects while making edge measurement difficult. Define which image supplies each result and how they are associated with the same part. This avoids treating a strong result on one requirement as proof of all requested checks.
Decision 6
Retain a difficult optical challenge set
Include an acceptable shiny part, normal finish variation, the closest acceptable mark and each rejected defect type. Repeat trials with realistic pose changes and record unresolved cases. State surfaces outside the demonstrated coverage and the cleaning or maintenance conditions needed to preserve it. Any hidden or functional property requires a separate method rather than an inference from appearance.
Two useful starting points for reflective part inspection
The right choice changes with visible defect or measurement definition for inspection of shiny & reflective parts, good, bad and marginal sample range, your line layout and required results.
Investigate a sudden increase in rejects on shiny parts
If previously accepted reflective parts begin to fail, preserve both the failed images and identified physical examples before adjusting the inspection. The useful question is whether the product changed, the view changed or the permitted decision boundary was misunderstood.
Compare the same part under the retained setup
Use an approved reference part and a recently rejected part, keeping their identities clear. Record whether the result follows the part or appears only at particular positions. Check that the correct finish and variant recipe is active. A part that fails only after a small rotation may point to a viewing limitation requiring investigation.
Inspect the conditions that create the reflection
Review visible contamination, lighting condition, camera or fixture movement and changes to surrounding bright objects. Record these observations before correcting them. Compare cleaned and uncleaned conditions only where the agreed production process permits that preparation; an extra manual cleaning step should not silently become an unpriced production requirement.
Keep new finish variation separate from confirmed damage
Have the responsible quality team classify samples from the changed batch. If the finish is accepted, challenge the revised optical setup with known defective samples as well. A setting that passes the new batch may also weaken detection of the original defect, so compare both outcomes.
Retain the reason for an approved adjustment
Record the changed parameter, supporting images, sample decisions and the checked coverage. Keep the previous approved setup available under the site’s change process. Use the reflective-part checklist to document any new surface or preparation limits.
Important limits
Know what needs a separate check
A camera can only assess a property made visible and repeatable by the inspection setup.
Sample diversity and marginal cases determine how meaningful a feasibility result is.
Visual inspection does not replace hidden, destructive, functional or statutory tests.
Your final solution for inspection of shiny and reflective parts must reflect the law, current standards and site-specific risks that apply to your installation.